Showing posts with label restoration. Show all posts

July 6, 2016

Queen Anne Gets a Paint Job, Part 4

Without further ado, here are some pictures of our house WITH PAINT! We've been waiting a long four years for this to happen, and it's finally time. Enjoy~~

All the different colors.
Some color up on the second floor! The teal color is called Blue Echo.

The teal is done.

Alex adds some lime green to the peak. All of the wavy lines will be that color.

The peak in the shade. The trim around the window needs to be painted a cream color, yet, and the storm windows aren't quite done.

The peak in the sun. What a difference! There are four different colors up there: charcoal along the crown moulding, the wavy cedar shakes are a lime green, the zig-zag cedar shakes are more of an olive green, and the squared cedar shakes are the same as the body of the house.

I will post more progress as its being made! Thanks for reading!

July 1, 2016

Queen Anne Gets a Paint Job, Part 3

The south side. Some people hear that and think of big cities like Chicago. In this case, we are talking about the south-facing side of our 1902 Queen Anne Victorian.

The south side of our home has had some issues. A floating corner that was having a hard time staying afloat. A leaky roof. A dilapidated porch. A weird fire escape??

A while back, our home was a multi-family home, and the second and third floors were used as a boarding house. We're not sure what the municipal code required, but we can only assume that it was during this time that a fire escape was added off the third floor. It was certainly an ugly thing.

The fire escape is visible in the upper left.

Another view of the fire escape.

When Karstin and Alex finished up on the north and east sides of the house, they moved on to the south. They were able to get two days' work done before this happened:

Spring in Wisconsin. Go figure.

We had to wait a bit for the snow to melt and for the ground to dry up a little bit, and the scraping was underway!


Notice how the fire escape is gone. Yay!

Down to the bare wood.
Alex commented that the paint came off really easily on this side of the house, compared to the north and east sides. We're thinking it may have had something to do with how the sun always beats down on this side of the house.

Ready for primer.

Now that the south side was completely scraped and prepped, Karstin and Alex could put some primer on. They decided that some of the primer would be tinted gray, so the darker colors of paint wouldn't need two coats.

Primer's all done. Now to get some color on there.

Check back for updates when the paint gets applied!


June 27, 2016

Queen Anne Gets a Paint Job, Part 2

The scraping and priming has begun! Karstin and Alex have been diligently grinding and hand scraping the layers of paint off of the east and north sides of our home. Some of these pictures are not for the faint of heart, especially if you have a fear of heights. You have been warned!

Access to the porch roof is very important. The painters can reach a lot of the house from here!
A lot of the second floor has been scraped.

Moving on to the north side of the house...

The wooden pillars came pretty clean. The spindles under the railings took them over a week to complete! There were many layers of paint on each one of them, but they got it all down to the bare wood.
Yeah, that is pretty high...

This is why we hired someone to paint our house. There's no way I'd go up there.

Gulp.

Now that they are finished putting the primer on these two sides of the house, we can get excited for color to be added. You read that right - COLOR. Queen Anne is getting a new paint job, and color, to boot! And not just one color... SEVEN.

Primer is all done on this side! It won't be white for long...

All has been completed on the north side, too, except for the very top of the peak.

The spindles turned out great. All 159 of them.

Stay tuned for more updates on our painting adventure!

May 5, 2016

Queen Anne Gets a Paint Job, Part I

When we purchased our house in June, 2012, we knew that we'd have to get our house painted as soon as we could. Years of neglect, peeling paint, and possible citations from the City of Green Bay for lack of upkeep were all bearing down on us.

This soffit is missing quite a bit of paint.
This one is too. The water damage really affected the paint.
We were recommended Green Bay's Perfect Painter by more than just a handful of neighbors. Joel Van Stechelman has quite the reputation in Astor for painting houses, not only for his time and effort, but also for the quality and longevity of the final product. Our neighbors had their house painted nearly ten years ago, and it still looks fresh and perfect today. To be honest, I was under the impression that the home had vinyl siding on it, the paint looks so great. Calling Joel was a given.

More missing paint here.
We got Joel over to our house to take a look at the exterior. We walked around a couple of times, and he told us that he'd get us on his list.

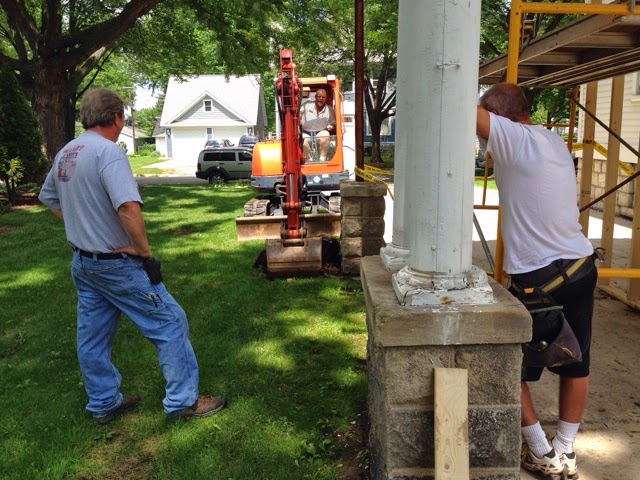
Fast forward to September 1, 2015. Backing out of the driveway on the first day of school, ready to bring our son Jacob to his first day as a preschooler. A truck pulls up with a whole bunch of ladders. Could it be? Could it really be them?? Were my eyes deceiving me?

Sure enough! Karstin, Joel's son, and his friend Alex, were coming to set up to start painting our house. This began the journey that we will hopefully someday call our "little $20,000 house project".

Below, take a look at some pictures from before the painters arrived. Watch for updates on their progress!

Some paint is missing from this trim.

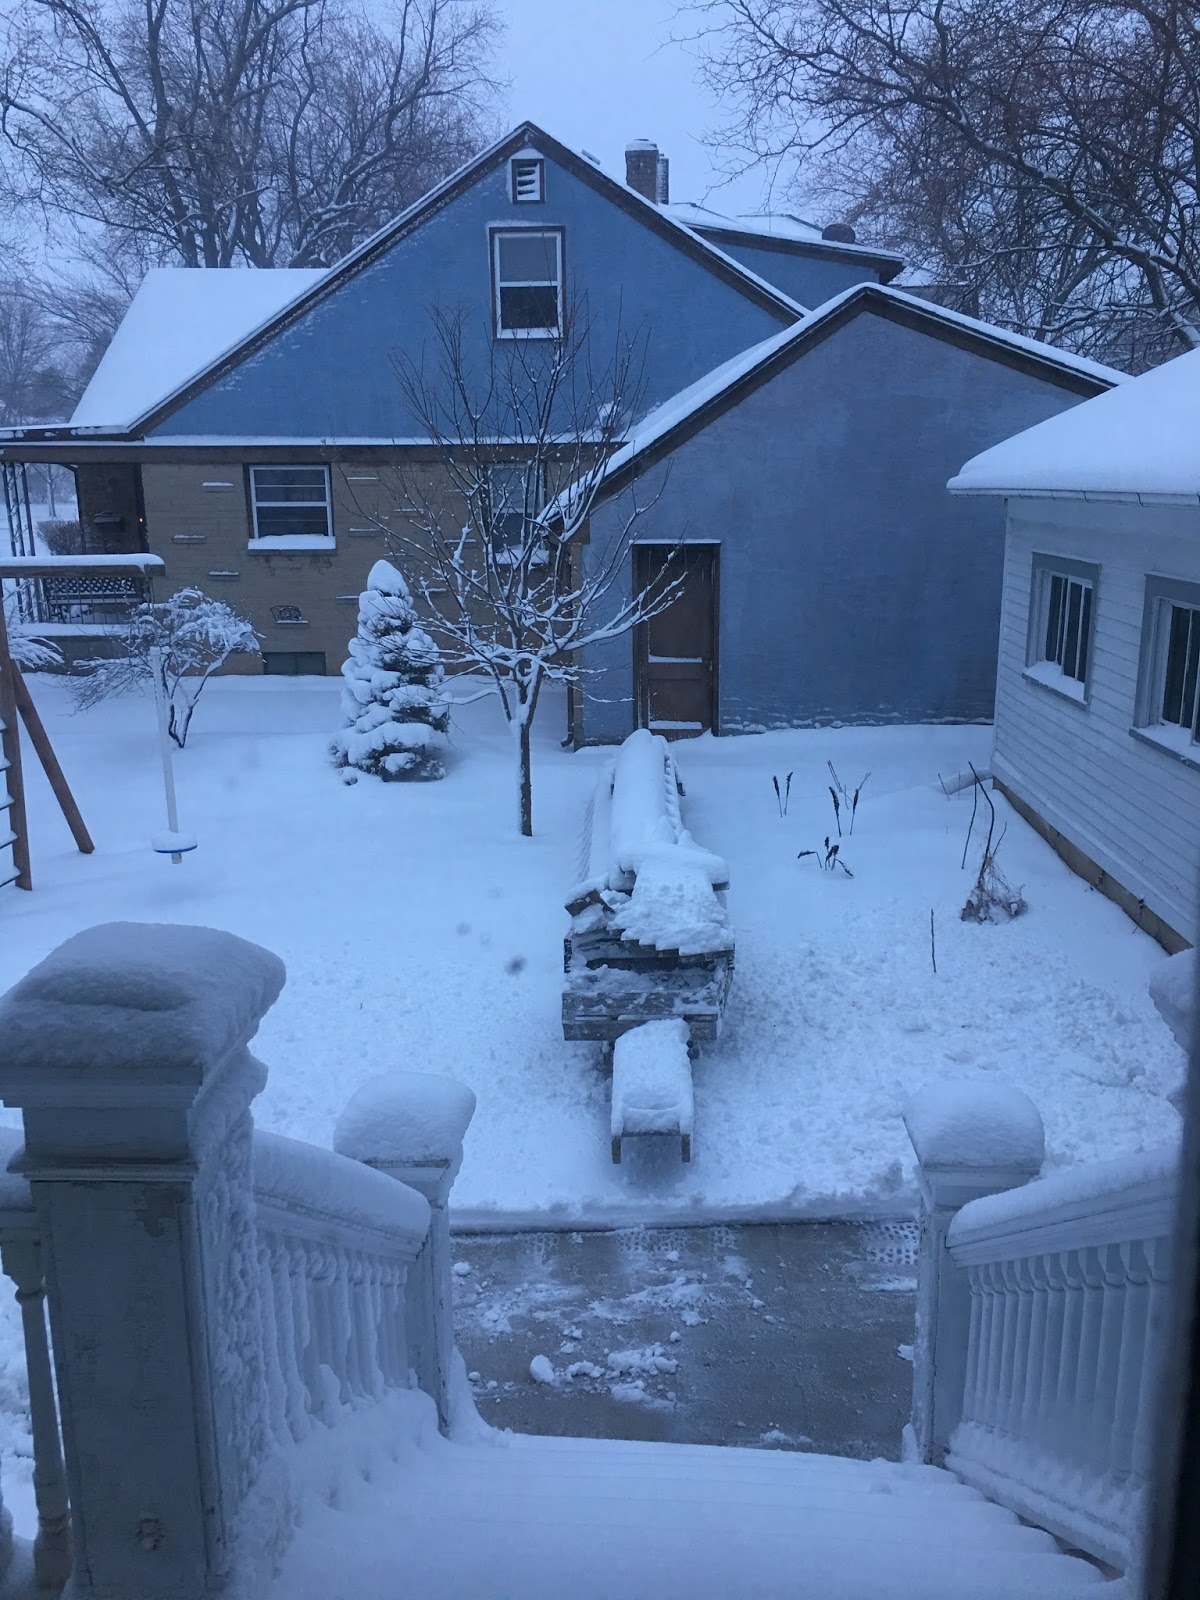
A lot of paint was peeling on this side due to a large shrub that we had to remove.

We painted over this area to protect the siding until the painters arrived.

September 4, 2015

Carport Conundrum: The Deck

After the old rubber roof was removed from the house, we were able to get the new one put on. It took the better part of a morning, but it sure turned out great.

The floor joists are in place, ready for the cedar deck boards.

The gorgeous cedar boards are ready to be put up on the deck.

The finished product!

We are looking forward to putting our patio table and chairs up here once we get our railings installed.

September 2, 2015

Carport Conundrum: The Support Columns

What a winter we had! It was so cold that even some schools got cancelled a day in advance. When things got really cold, we noticed something with our carport. The shifting in the ground caused one of the support columns for our carport to heave upwards and look like it would tip over.

Yikes! Tyler created a joist that would help support the weight on that side. Of course, he chose the coldest day to do this. When things started to warm up again, the joist wasn't needed anymore, so we took it down.

We didn't want this to happen again this coming winter, so we had Pat Drury from Drury Designs take a look. We needed to get a look at what was under the current columns to see how to proceed.


What's down there?
Earl starts the excavation.
Ah... Just as we suspected. We'll need to start over and put some footings down here.


Just like on the front, and now side of the house, we'd need new footings under these support columns as well.

Eric from Roffers Concrete Construction coordinated the formation of the footings under the carport columns.

The hole has been dug, and we're waiting for the forms.

This is what had to be cut out of the driveway to make room for the new concrete work.

Part one has been poured.

The footing is done and dry.

The reconstructed stone columns with new tops.

The reconstructed columns from another angle.

After the stone columns had a chance to set, Curt and Mark were able to put the columns back up.


Steve had to make new bases for the columns; the original ones were very damaged

Bottom - the original base for one of the pillars; top - its replacement

Once the support columns were back up, we could have the new piece of concrete poured. Watch for an update on the new concrete work, coming up soon.


October 3, 2014

That's Jacked Up

A corner of our kitchen was added after the house was built. The odd thing was that it was a floating corner, and there was no support underneath it. Fast forward fifty years, and now we have a sagging problem.

Look to the right of the scaffolding. See the downward slope?

There's nothing holding this corner up!

This is also the same corner that once had a leaky ceiling. Perhaps this addition wasn't carefully planned out and properly built?

In order to fix this problem, the corner would have to be jacked up from the outside... a quarter of an inch at a time. To prevent our windows from being cracked, they took them out and temporarily filled them in with plywood.

It's working!

The jack is doing its job. That's Curt doing his job. 

We were without windows for a while.

The corner is now where it belongs. The deck has been added, too.


Now that the windows are back in, it's a sign that this project is moving along!